Synopsis
The following information was discovered while helping a customer migrate JBoss applications from internal on-premises virtual machines to Azure.
This article will discuss differences and adaptations necessary to migrate JBOSS applications to Azure App Service. This includes the configuration of App Service, custom standalone.xml, and useful development tools.
Initial App Service Configuration
Azure supports JBOSS on Premium 3. The resource requirements necessary determine the tier level. Determination of increased resource requirements will be discussed later in this article.
First, navigate to the App Service that you would like to configure, select Configurations under settings, select General settings, and change the stack to the appropriate versions of Java and JBOSS.
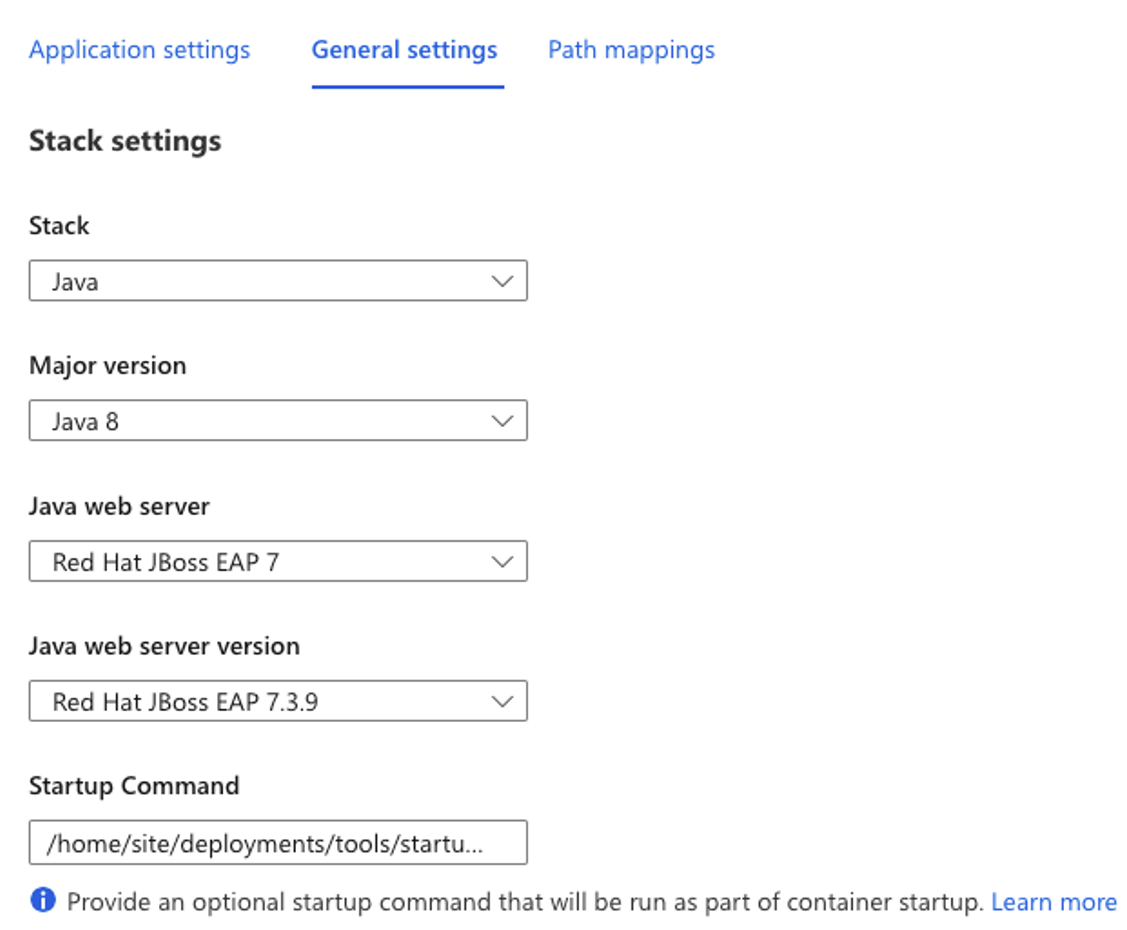
Startup Command can be used to customize the JBOSS implementation. Place a script within the ‘/home/’ directory. The following is the recommended location:
“/home/site/deployment/tools/startup.sh”
Place the file path within the Startup Command location. Note: All directories outside of ‘/home/’ do not persist upon restart.
Place the following command in the startup.sh file:
$JBOSS_HOME/bin/jboss-cli.sh –connect –file=/home/site/deployments/tools/jboss-cli-commands.cli
The “Configuration of Custom standalone.xml File” will go over how to generate the custom environment.
Configuration of Custom standalone.xml File
The standalone.xml is the entry point to the custom JBOSS application experience. The following link is from the official docs of JBOSS and listed below are some useful commands that assisted in migrating JBOSS applications.
https://docs.jboss.org/author/display/WFLY/Command%20Line%20Interface.html
Adding Modules
Under site > deployments > tools directory:
- Add necessary modules to a module folder

- Add the following command to the jboss-cli-commands.cli
- If jboss-cli-commands.cli does not exist, create a new file with the appropriate name
module add –name=<name of module> –resources=<location of jar within the ‘home’ directory> –module-xml=<location of xml relative to ‘home directory>
Adding System Properties
- Add the following command to the jboss-cli-commands.cli to add system properties
- If jboss-cli-commands.cli does not exist, create a new file with the appropriate name
/system-property=<Name of Property>:add(value=”<Value of Property> “)
Adding Data Source
- Add the following command to the jboss-cli-commands.cli to add system properties
- If jboss-cli-commands.cli does not exist, create a new file with the appropriate name
- Add the jdbc-driver DataSource using the instructions listed above
/subsystem=datasources/jdbc-driver=<driver name>:add(driver-name=<driver name>,driver-module-name=<driver module name>)
- Add the DataSource by inserting the following command into the jboss-cli-commands.cli file
data-source add –name=<name of datasource> –jndi-name=java:jboss/datasources/<name of datasource> –driver-name=<driver url> –connection-url=<connection url>;user=<user>;password=<password>;databaseName=<dbname>
Debugging Tool to Assist in Migration
Application Insights
Select Applications under Settings within the App Service.
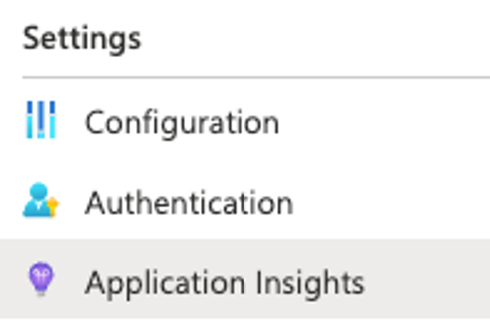
Select Turn on Application Insights Button. Go to the app configuration section and make sure the APPLICATIONINSIGHTS_CONNECTION_STRING is set to the instrumentionKey defined on the app insights resource created.
We need to point to the application insights process agent in the JAVA_OPTS jvm arguments.
See linked Microsoft article for more information.
https://learn.microsoft.com/en-us/azure/azure-monitor/app/java-in-process-agent
Application insights will give application metrics that can assist in identifying potential problems.
Azure Diagnostic Tool
Select Diagnose and solve problems within the App Service.
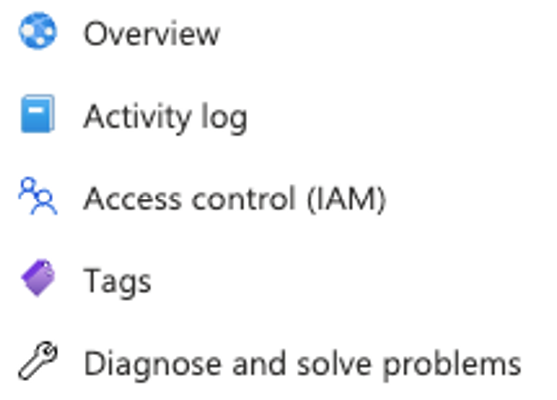
Azure’s diagnostic tools show suggestions and potential improvements for performance. This area can assist in deciding whether to re-evaluate the current tier level for the resources being utilized.
Notes and Conclusion
As a summary of this article,
- Create appropriate resources with the configurations included
- Deploy application to the resource
- Change appropriate files for a custom JBOSS application
- Use various Azure related tools to debug
It was found that you cannot inject a properties file when running a “standalone.sh -p” command. In place of this, the jboss-cli-commands.cli must be leveraged to create the appropriate environment.